


News Flavor science 11.14.23
The secret of a great bake
Tips and Tricks
Baking is blend of science and art, which is why I love it. To bake well, master a few basic techniques to unleash your artistry.
Step one is quality ingredients. I cannot stress enough the importance of good ingredients to a successful bake!
Two basic elements make our taste buds sing: fat and sugar.
Sugar is pretty straightforward. Fats are another story. Ill-considered shortcuts have ruined many a dessert. The worst offenders are vegetable and canola oil.
Adding these oils will certainly make your cakes moist. But they wreck the flavor. Butter is the way to go! Whenever a recipe calls for oil, I use clarified butter. It’s easy to make by melting butter and skimming off the white milk solids. What remains is a fat that like oil, remains liquid at room temperature but unlike oil has delicious flavor. It’s an extra step, but trust me, it’s worth it!


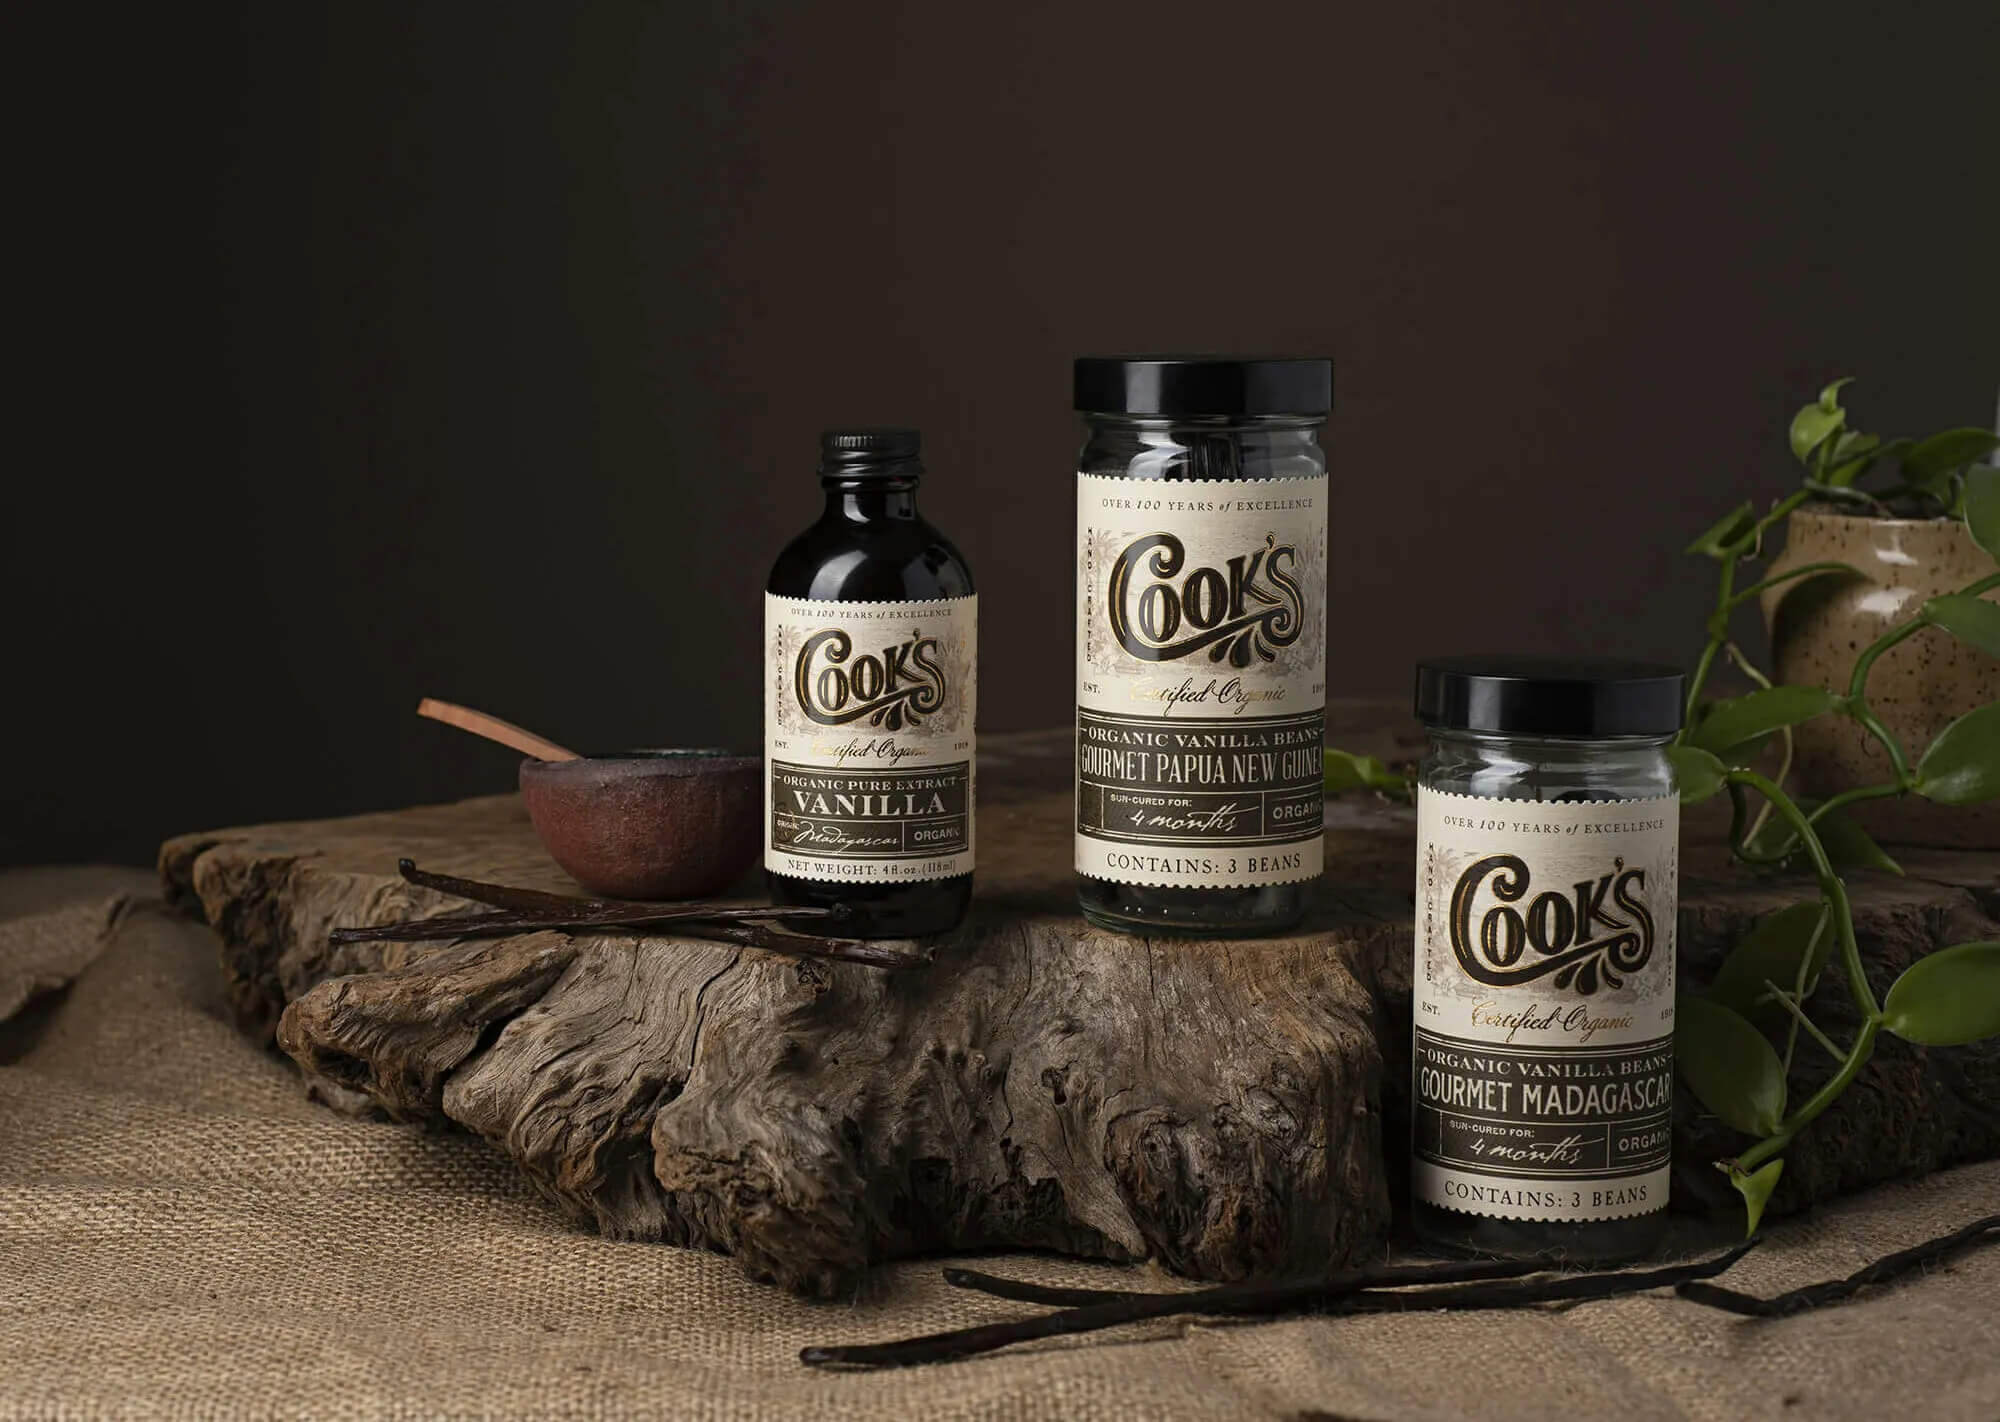
The second most important ingredients are your flavors: vanilla, fruit, chocolate, coffee, liqueur or anything added solely for taste.
Spending a little extra money here will take your baked goods to the next level.
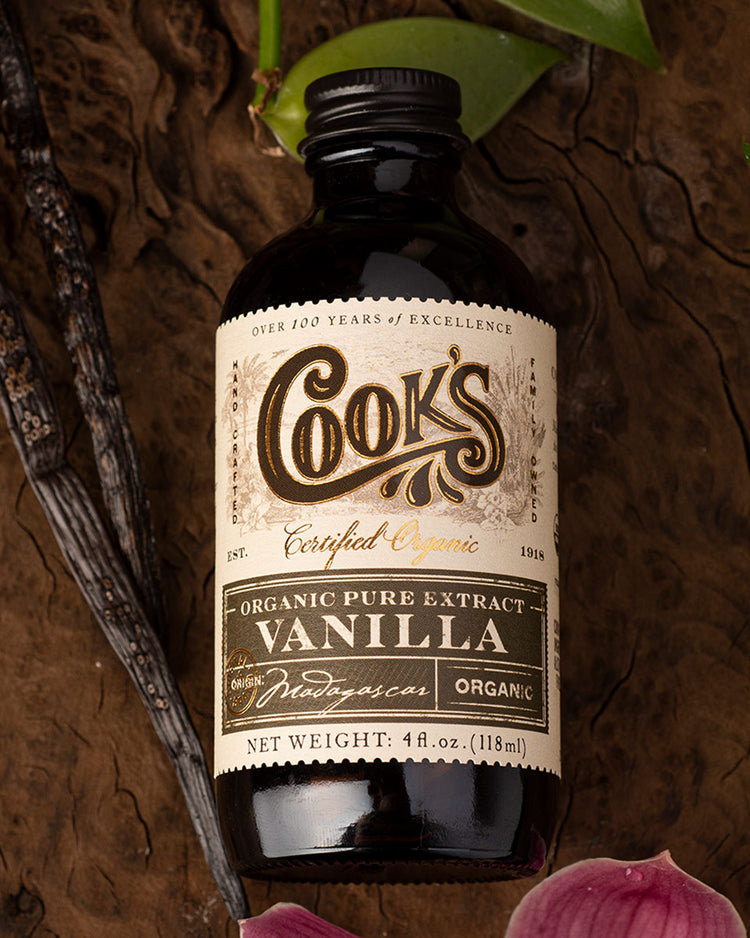
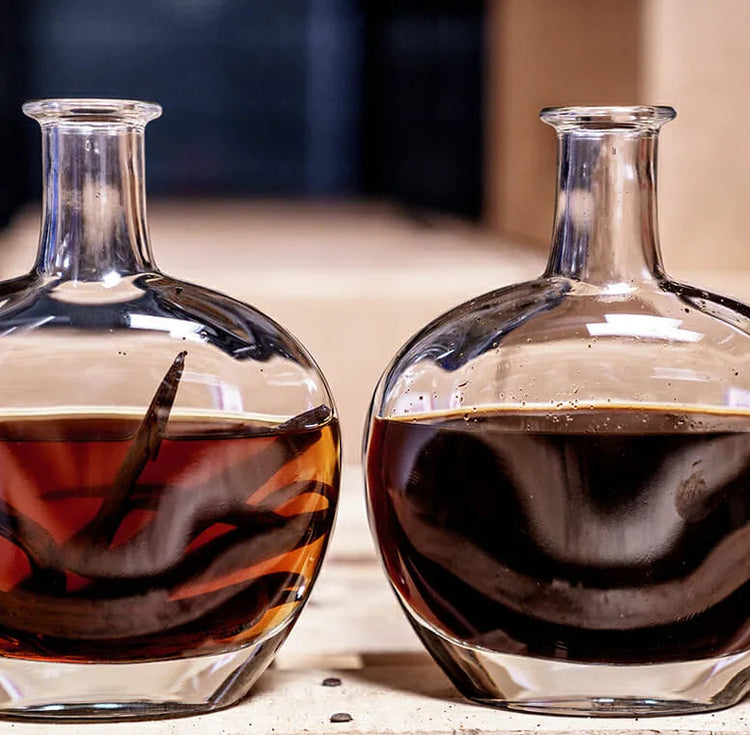
I grew up dumping large quantities of vanilla into every recipe because we have an endless stock of the best vanilla anywhere! My mom, president of Cook’s Flavoring, always doubles or even triples the vanilla in any recipe. It’s a great trick. Vanilla is wonderfully subtle and never overpowering. It’s also a terrific flavor enhancer for companions such as chocolates and fruits.
I learned that a top-notch pure vanilla is the key to desserts that disappear. The principle applies to all flavors, especially chocolate and coffee. To bake something stupendous, buy the best flavorings you can afford. For fruits, fresh is always best. Same applies to liqueurs and other extracts such as lemon and almond.
The Mysteries of Mixing
Your mixing method will determine the ultimate texture and consistency of your baked goods.
In most recipes, step one is to cream together the butter and the sugar. I use an electric mixer and leave it on high for a good bit. It does not have to be watched closely. It’s ready when the mixture is fluffy and the sugar is completely dissolved in the butter. You’re looking for a very smooth mixture with almost no graininess. Taste test!
For cookies, the next step is to add eggs in one at a time and then beat for a minute until the batter is once again fluffy and smooth. It should not be runny.
For cakes, also add eggs one at a time. I use a moderately high speed for this step, and again leave the mixer on until I achieve a high loft.
Where things can go terribly wrong: Adding the Flour
Flour gluten, a grain protein, gets chewier the more it is worked. For breads, the gluten is enhanced by kneading for a bready, chewy texture.
Cookies and cakes are just the opposite. You want to avoid developing the gluten, because it will harden the final product.
For cookies, first whisk the flour together with other dry ingredients (leavening agent, salt) and set aside to be incorporated as the final step.
I recommend adding chocolate chips, nuts and similar additions to the wet batter before mixing in the flour and other dry ingredients.
When you finally add the flour, either beat in by hand or use a very slow mixer speed until it is just incorporated into the batter. Then stop. This will keep your cookies soft after they are baked.
For cakes, the danger of over-mixing flour is even greater. Cake batters are more liquidy and require alternating dry ingredients with with wet (milk, yogurt, buttermilk), usually in three additions, starting and ending with dry ingredients.
As you make these additions, mix the batter until each is just incorporated. This will avoid clumping. But over mixing will ruin texture.
The last step, baking, is always a little variable, depending on your oven and the outside temperature. For cookies, do a small test run. Scoop one or two cookies and bake for the full time. You can add more flour or a dash of milk to adjust the texture and consistency.
The most common problem is a cookie that comes out flat and burned around the edges. Depending on the batch size and how flat the cookie is, I will add anywhere from 2 tbsp. to ¼ cup flour to the batter, mix for just for a second and then bake a second test cookie.
Be careful though. It may be tempting to do this gradually, making adjustments in small increments. But remember that every time the batter is mixed, you develop more gluten. Trust yourself to properly gauge the additional flour you need.
In rare cases, cookies may be too dry. The batter crumbles and has a hard time sticking together even when pressed and molded. Depending on the batch size, make small additions of 1 tbsp. milk to the batter until the dough just sticks together.
Comments